Find Target USB
Steps to target the correct USB device within Virtual Box
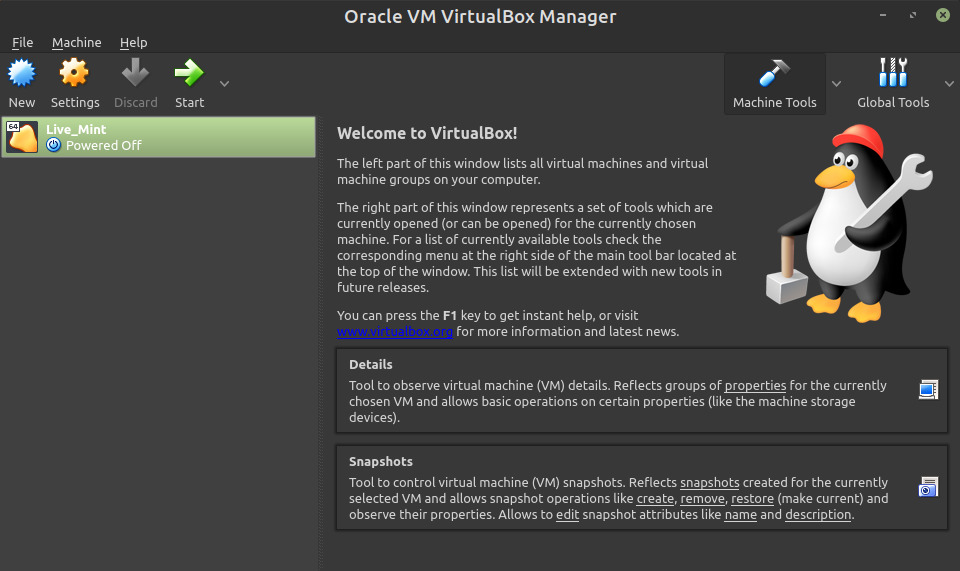
Select Virtual Machine
With the new Virtual Machine selected press the Settings button, or use Crtl S keyboard short-cut

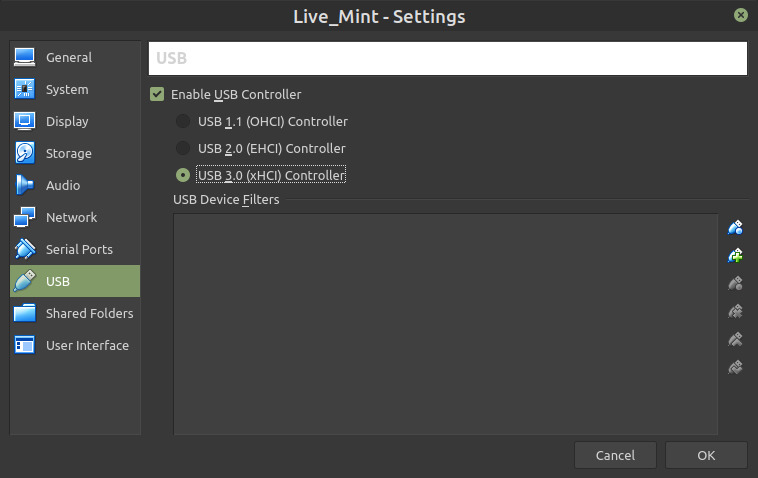
Settings USB Controller
Select USB tab
Check the Enable USB Controller check-box such that it is checked
Select the version of USB that’ll be used, 1.1, 2.0, or 3.0

Settings USB Filter Details
Beside the USB Device Filters select the second USB icon, the one with description similar to “Adds new USB filter with all fields set to values of the selected USB…“
Note, which devices are currently available but do not select anything just yet
Unmount/eject the target USB drive from the host and note which device is no longer available within the previous drop-down
Plug in the target USB drive and select it from the previous drop-down menu
Note, VirtualBox will automatically unmount selected USB device(s)! So be certain that the correct target is selected, especially if following along from another USB installed Operating System
Beside the USB Device Filters select the third USB icon, the one with description similar to “Edits selected USB filter”, and double check that the target USB device is described correctly

Click the OK button to confirm current changes to USB Device Filters and Settings, or use Alt O keyboard short-cut