Install Linux to USB
Directions to follow within live-boot instance to install Linux to USB
Install Linux Mint
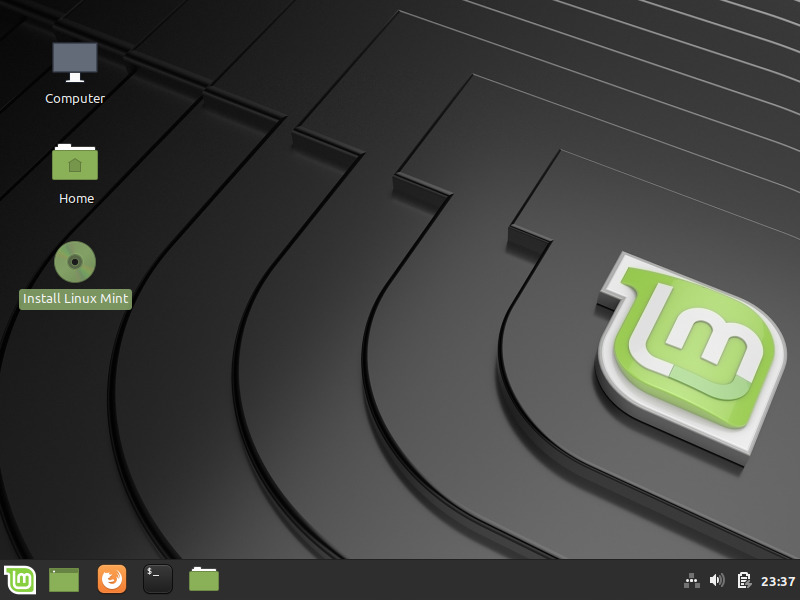
On Virtual Machine desktop double click Install Linux Mint, note if installing Ubuntu then icon may be titled slightly different
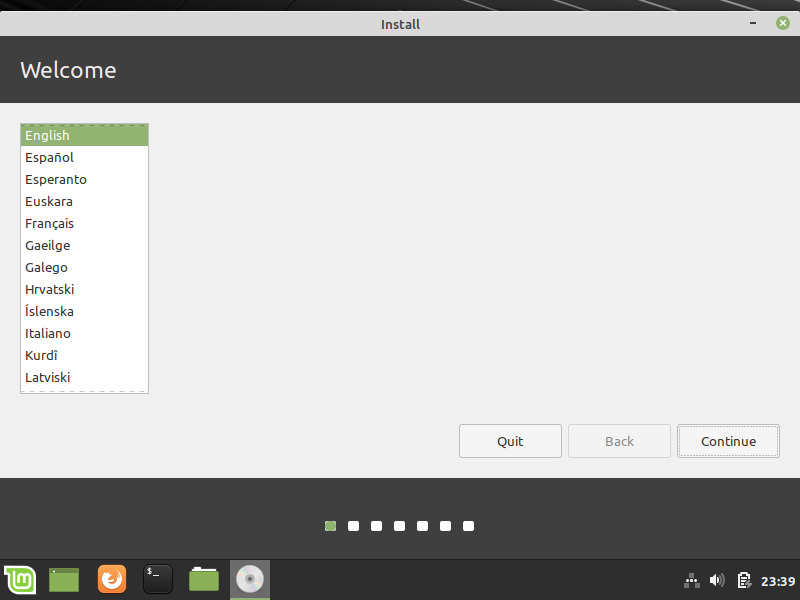
Select Language
Select preferred language on first screen of Install window, then click the Continue button
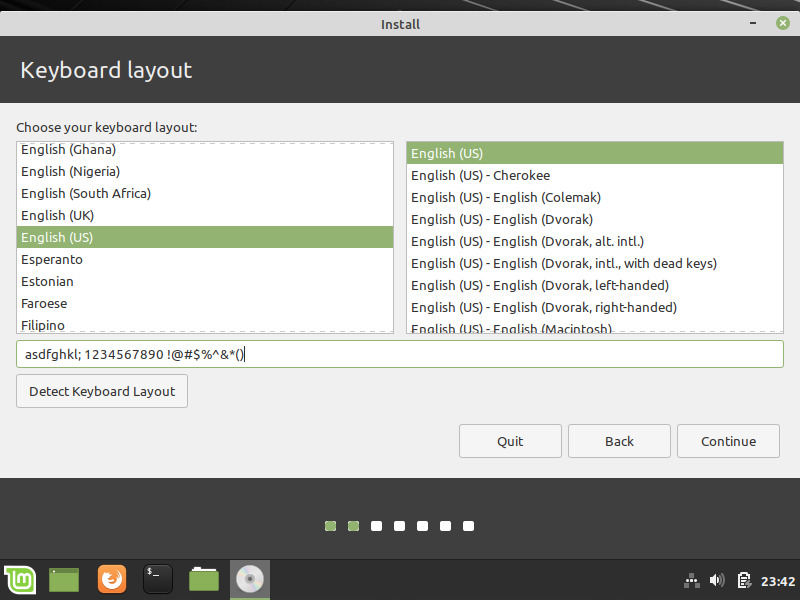
Select Keyboard Layout
Select a default keyboard layout on the second screen of Install window, and test that keys are read correctly, then click the Continue button
02-select-keyboard-layout
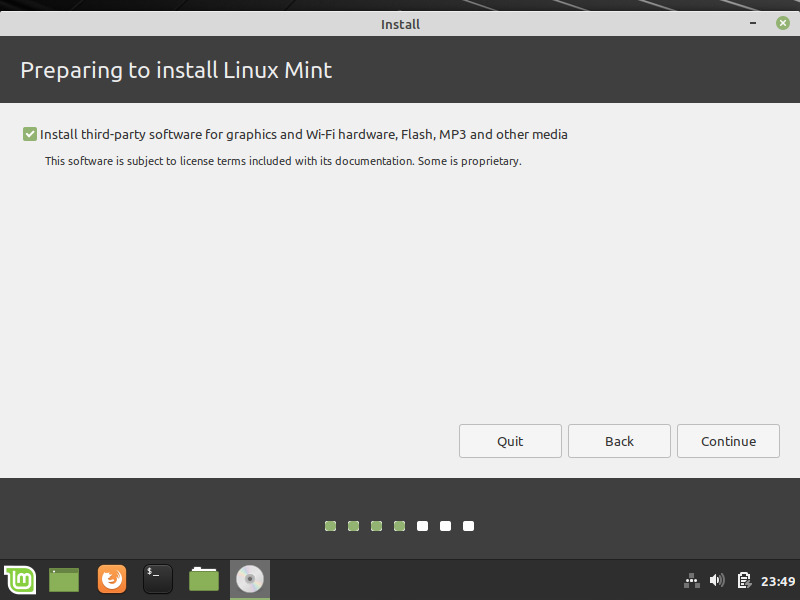
Third Party Software
Check the check-box for Install third-party software for graphics and Wi-Fi harware... within screen of Install window if desired or required, then click the Continue button
Installation Type
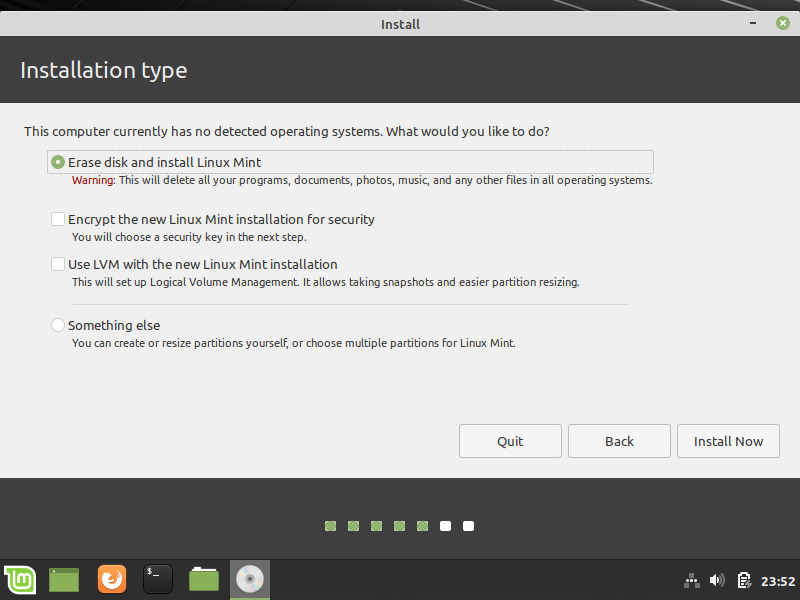
Within Installation type screen select the first option, Erase disk and install Linux Mint, then click the Continue button
Write Changes to Disk
Click Continue on "Write the changes to disk" pop-up…
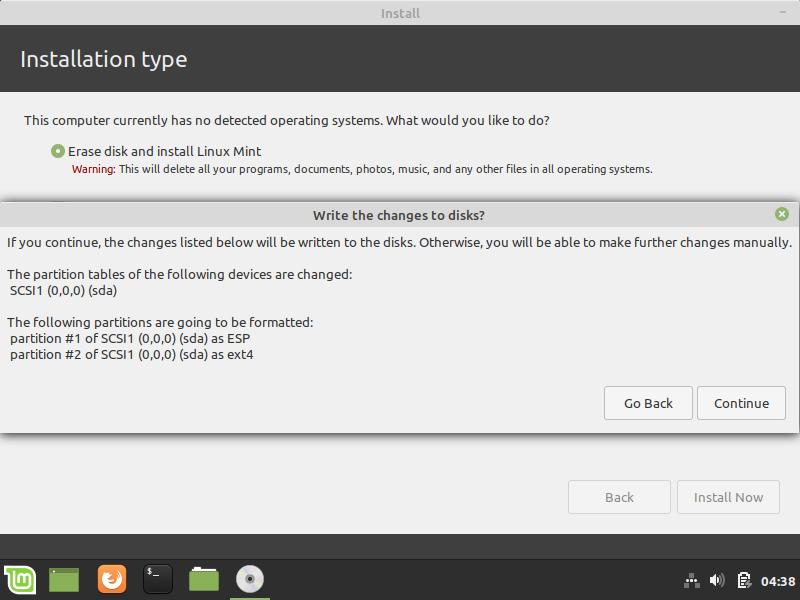
Note, so long as the virtual machine is setup as described the only drive available will be the target USB (
/dev/sda)
Where Are You
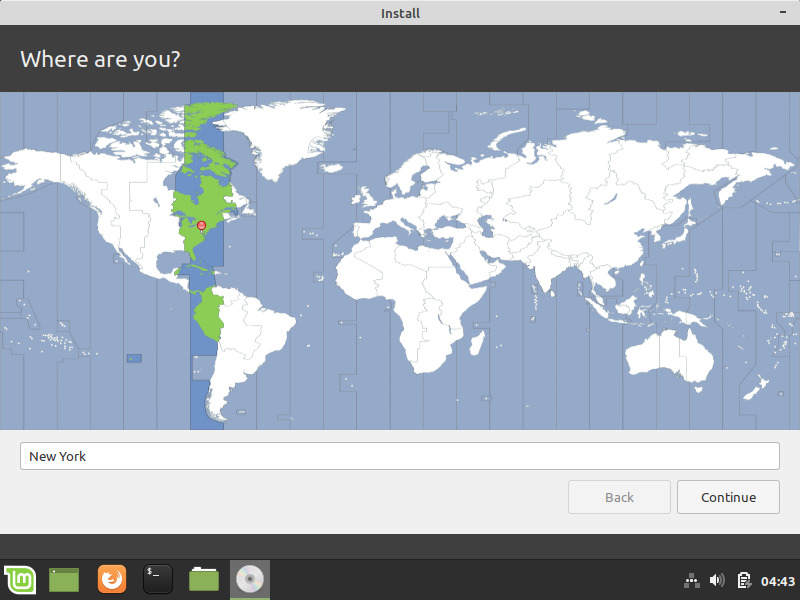
Within Where are you? screen of Install window select the time-zone to use, then click Continue button
Who Are You
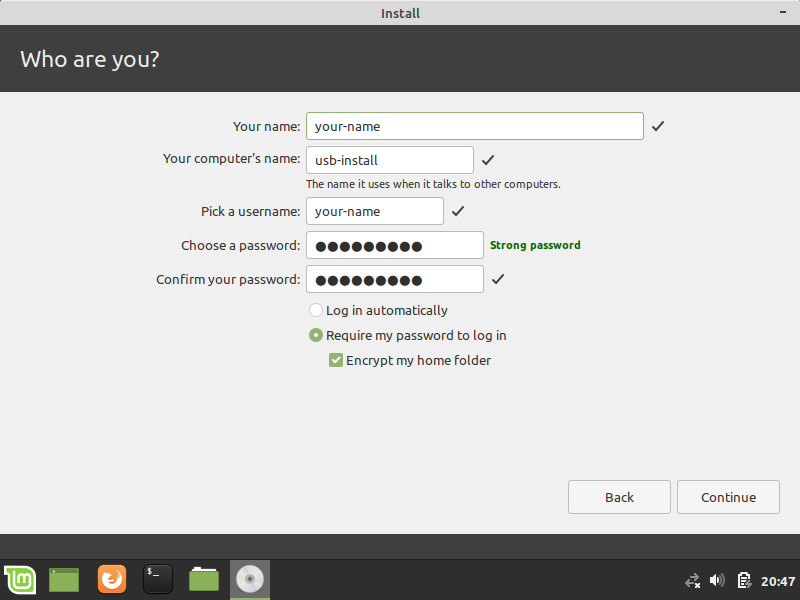
Within the Who are you? screen fill out the text fields, select login preference, and check the Encrypt my home folder check-box if desired
Note, depending upon threat model, and distribution, it may be better to preform an encrypted install.
Let the installer finish, and do not click anything within the installer window during installation!
Continue Testing
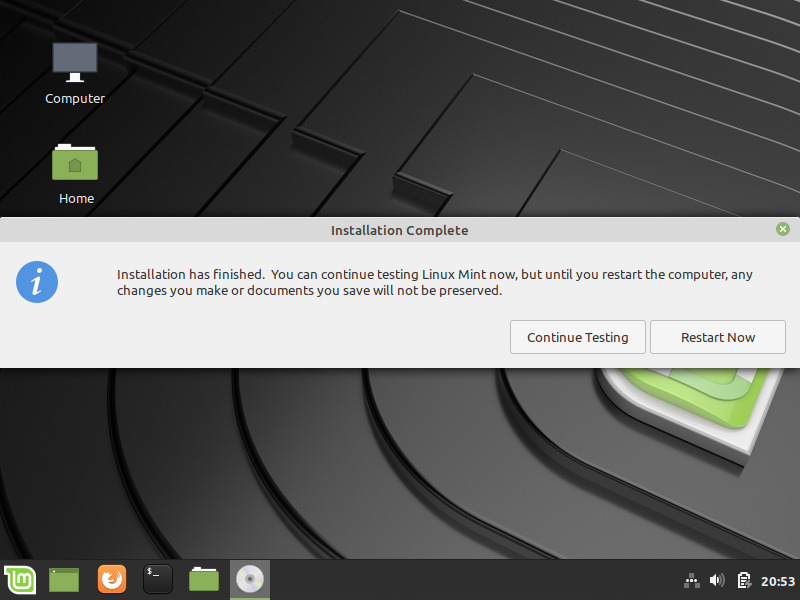
When Installation Complete window pops up click the Continue Testing button
Edit /target/etc/fstab Configuration
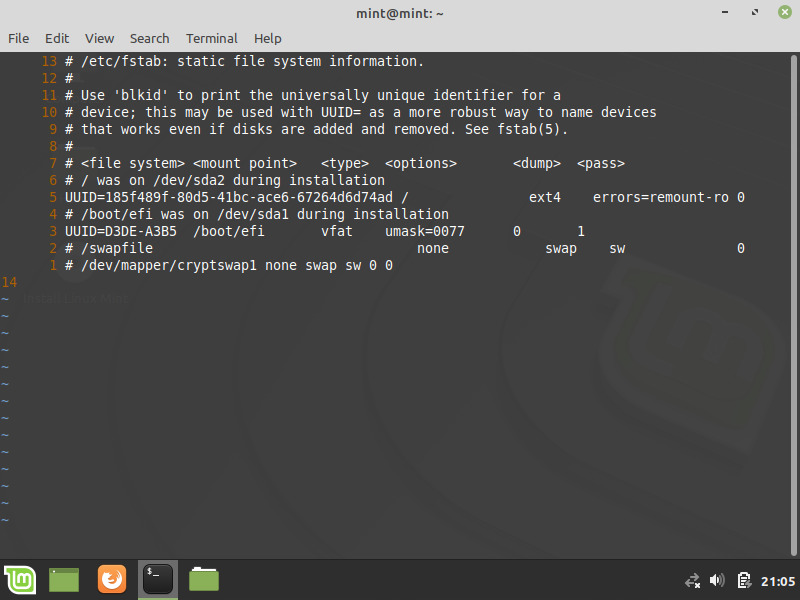
If installing Mint versions 19 or greater edit the /etc/fstab file of /target USB and comment out the swap file line, and if encrypted home directory was enabled comment the cryptswap1 line…
/target/etc/fstab (snip)
# /swapfile                                 none            swap    sw              0       0
# /dev/mapper/cryptswap1 none swap sw 0 0
Edit /target/etc/crypttab Configuration
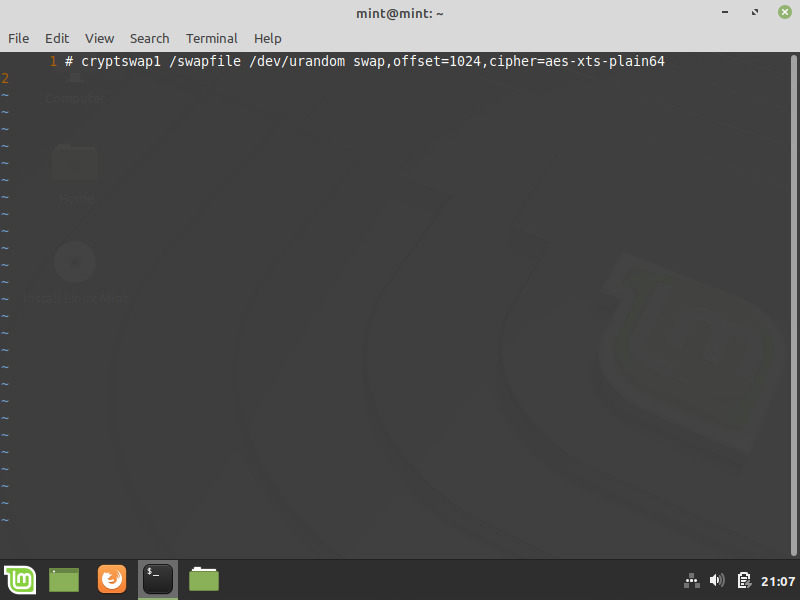
Additionally, if encrypted home directory was enabled then edit the /target/etc/crypttab file, and comment the swap file configuration…
/target/etc/crypttab (snip)
# cryptswap1 /swapfile /dev/urandom swap,offset=1024,cipher=aes-xts-plain64
Click the Menu icon (lower left corner) and select Quit…
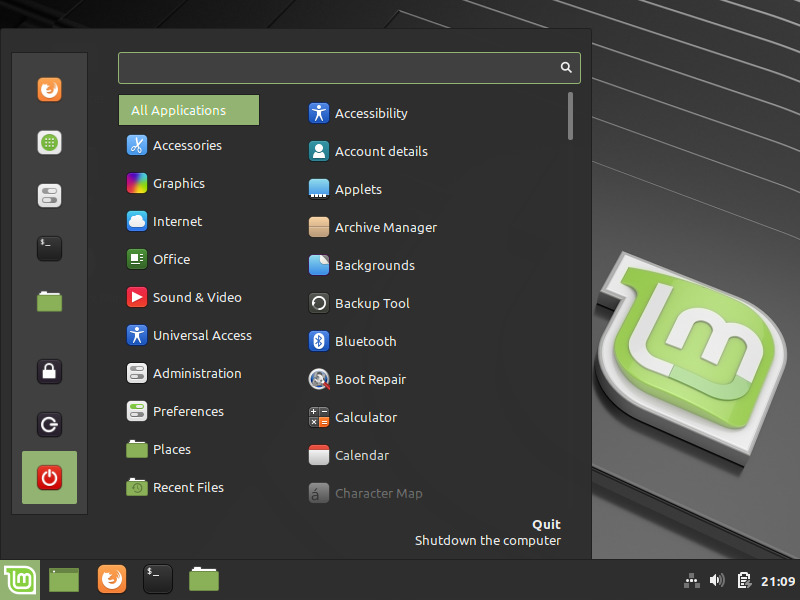
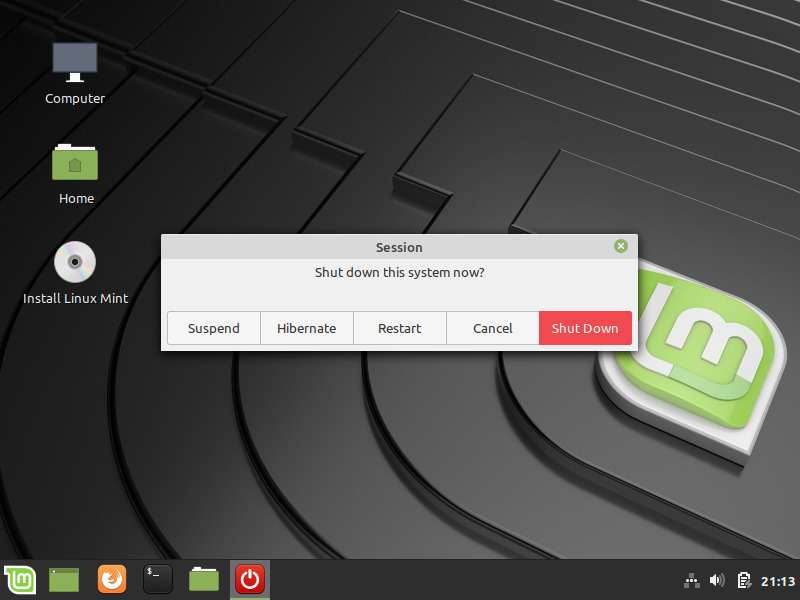
… then click the Shut Down button within the Session window…
When Please remove the installation medium... line appears tap the Enter key and the virtual machine window should close